It's the end of term again, the time of year when I find myself, like many of us parents scrabbling around trying to think of some inexpensive & hopefully unique thank you gift for our kids to give to their outgoing teacher. This year my 9 year old daughter Eden has a male teacher, which seemed to make that task even harder, but we are hoping as he is apparently "banana mad" he is going to love this totally unique cushion, decorated with Eden's very own version of some famous banana art.
Though these simple to make cushions & the many variations that you can make of them are fantastic Xmas or Birthday gifts for family & friends too & can be decorated in all sorts of designs, or techniques - see the print tutorials I will be adding over the next few weeks….
How To Make A Simple Picture Frame Cushion
see HERE...
FOR TRANSFER PRINT TUTORIALS & HOW TO MAKE A PERSONALISED MOTIF
First you will need to choose your print & fabrics - As this is for a man, I've chosen black denim with a leatherette trim - the white cotton is for the transfer print of our chosen artwork.
For ONE CUSHION you will need…
White or light coloured high cotton content cloth to print onto.
40cm of your main cloth (In this case - Denim) ... this needs to be firm & none stretch, but you can adapt a jersey or less firm cloth by ironing on an interlining
Leatherette to make into strips(if buying - 25cm)(or you can use a different trim for the frame, ribbon, binding or a decorative braid will all do fine & change the design to suit the person the gift is for)
 |
Cut 4 strips of Leatherette 2cm wide X 35cm for your trim
Alternatively you could use Ribbon, or a decorative braid as an alternative trim to frame your print
|
 |
Cut you Denim (or main cloth) into 2 x 35cm squares
|
 |
Trim your A4 sized print to make a square & lay onto your cut cushion front
|
 |
Lay your trim over the edge of your motif to create a frame.
Here I have "basket weaved" the edges in an "over - under" fashion
|
 |
I used fabric glue to hold the motif in place for stitching.
With hindsight (see below) less glue would have been better - edges & corners only next time!!
|
 |
I used glue to hold the trim in place as I didn't want pin marks in my Leatherette.
Pinning would be fine on other trims.
|
 |
Edge Stitch BOTH edges of the trim to securely frame your print.
|
 |
Repeat all around to finish your print frame trim.
Now PRESS the BACK of your finished cushion front with a hot iron, taking great care not to damage the print - I use a heat reflective ironing board cover, & my cushion & print safely peeled away when still warm - if you don't have this, press onto grease proof paper & peel away when warm.
|
 |
With the right side of your fabric FACING each other, seam all around your cushion as shown.
Leave a gap of aprox 6cm in one side to create a turning/stuffing hole.
|
 |
Turn your cushion through by grabbing the inside through the hole & pulling through to the outside
|
 |
Carefully & neatly press all around the edge of your cushion with a hot iron
Folding & pressing the fill hole will help when closing the hole after stuffing.
|
 |
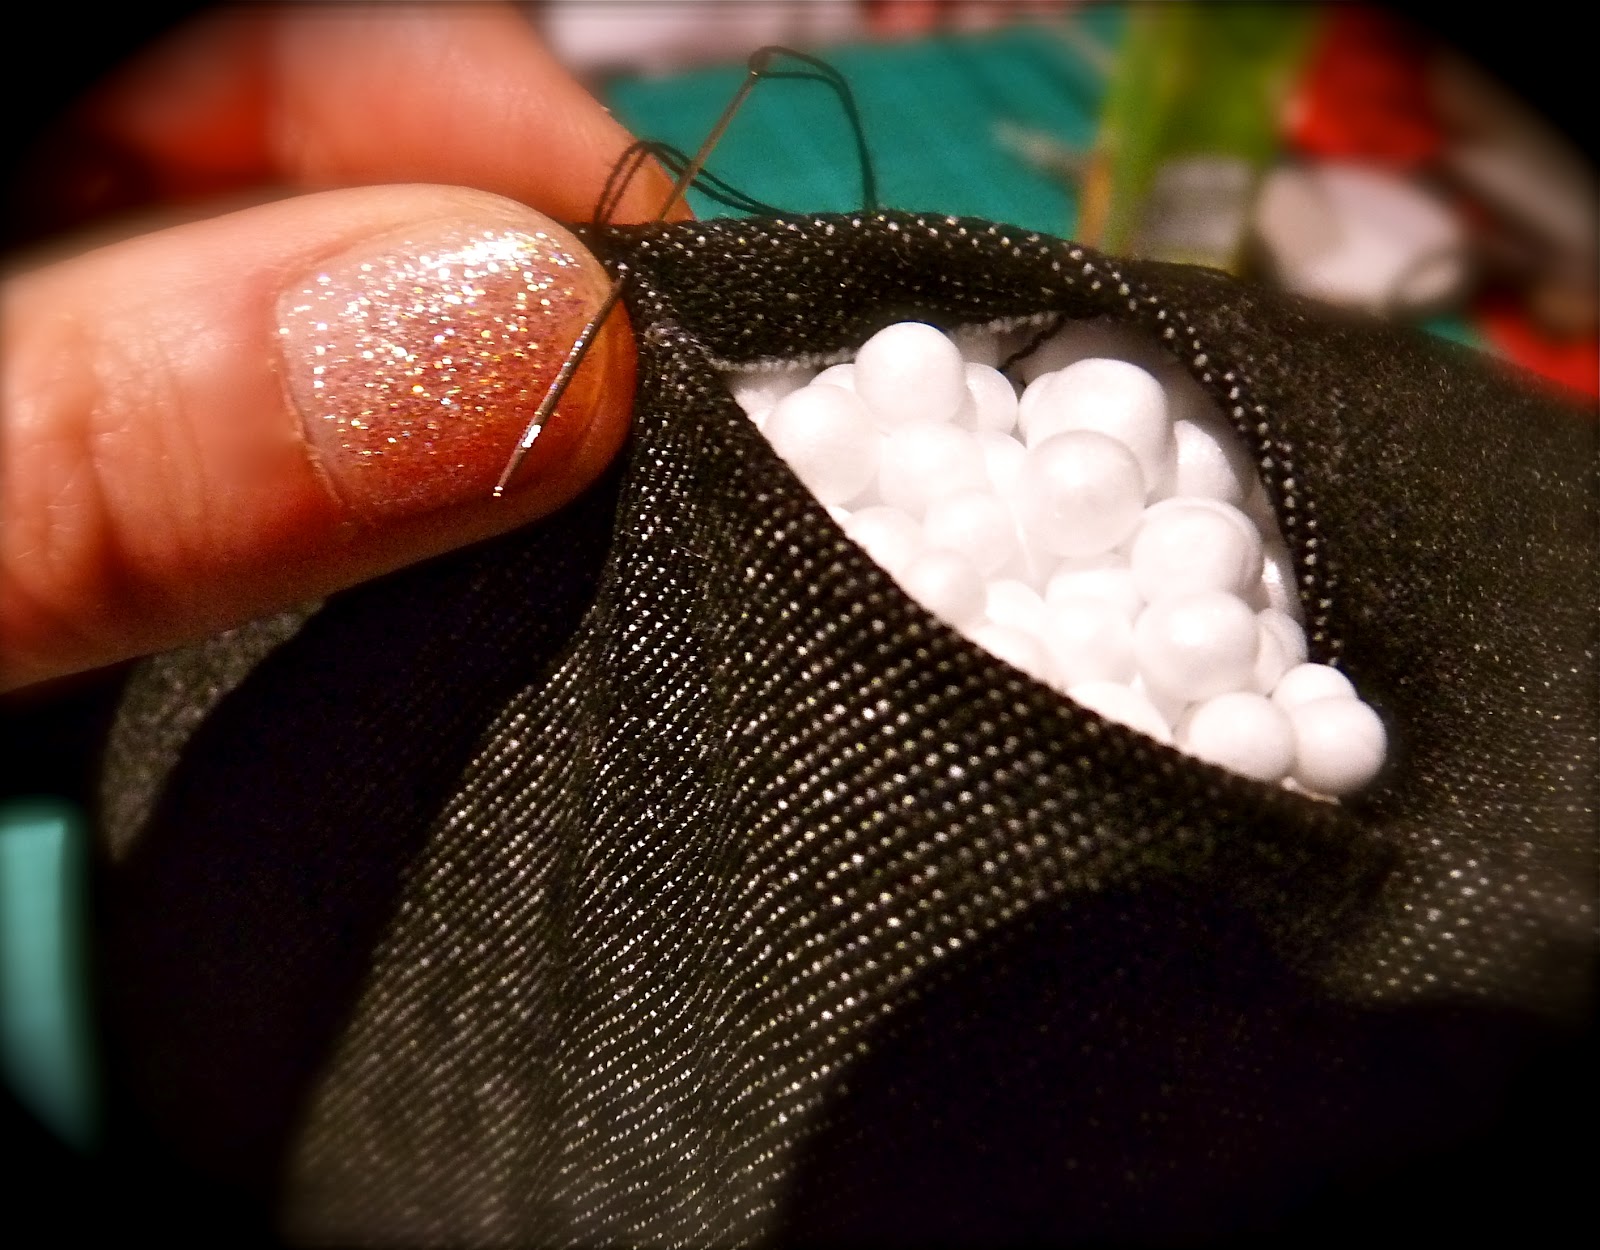
Now fill your cushion.
I used Poly beads, available in most haberdashers or online, but you can use wadding, cloth scraps mixed with wadding or recycle the stuffing from old duvets & pillows or even chopped up poly carrier bags - free & eco friendly, what more can you ask for :)
|
 |
Close the hole to finish by oversewing as shown
|
 |
You now have a finished personalised cushion :)
|


No comments:
Post a Comment